Rohan spent three weeks running typing tests before anyone told him his fingers had no fixed assignments. He was quick for a beginner — around 28 WPM — but every gain came from speed alone, and his accuracy fell apart the moment a paragraph ran longer than two lines. The fix wasn’t a better website or a harder test. It was going back to the eight keys in the middle of the keyboard and drilling them until his fingers stopped waiting for his eyes to give directions. That is what this guide covers: not typing in general and not a learning timeline, but the specific home row finger-placement drills that almost every fast, accurate typist did at some point, whether they remember doing them or not.
- Why home row comes first
- Which finger owns which key
- Getting into position correctly
- The drill progression, step by step
- Common mistakes that wreck the habit
- What home row drills look like in practice
- How long until it feels automatic
- Key takeaways
- Frequently asked questions
Why home row comes first
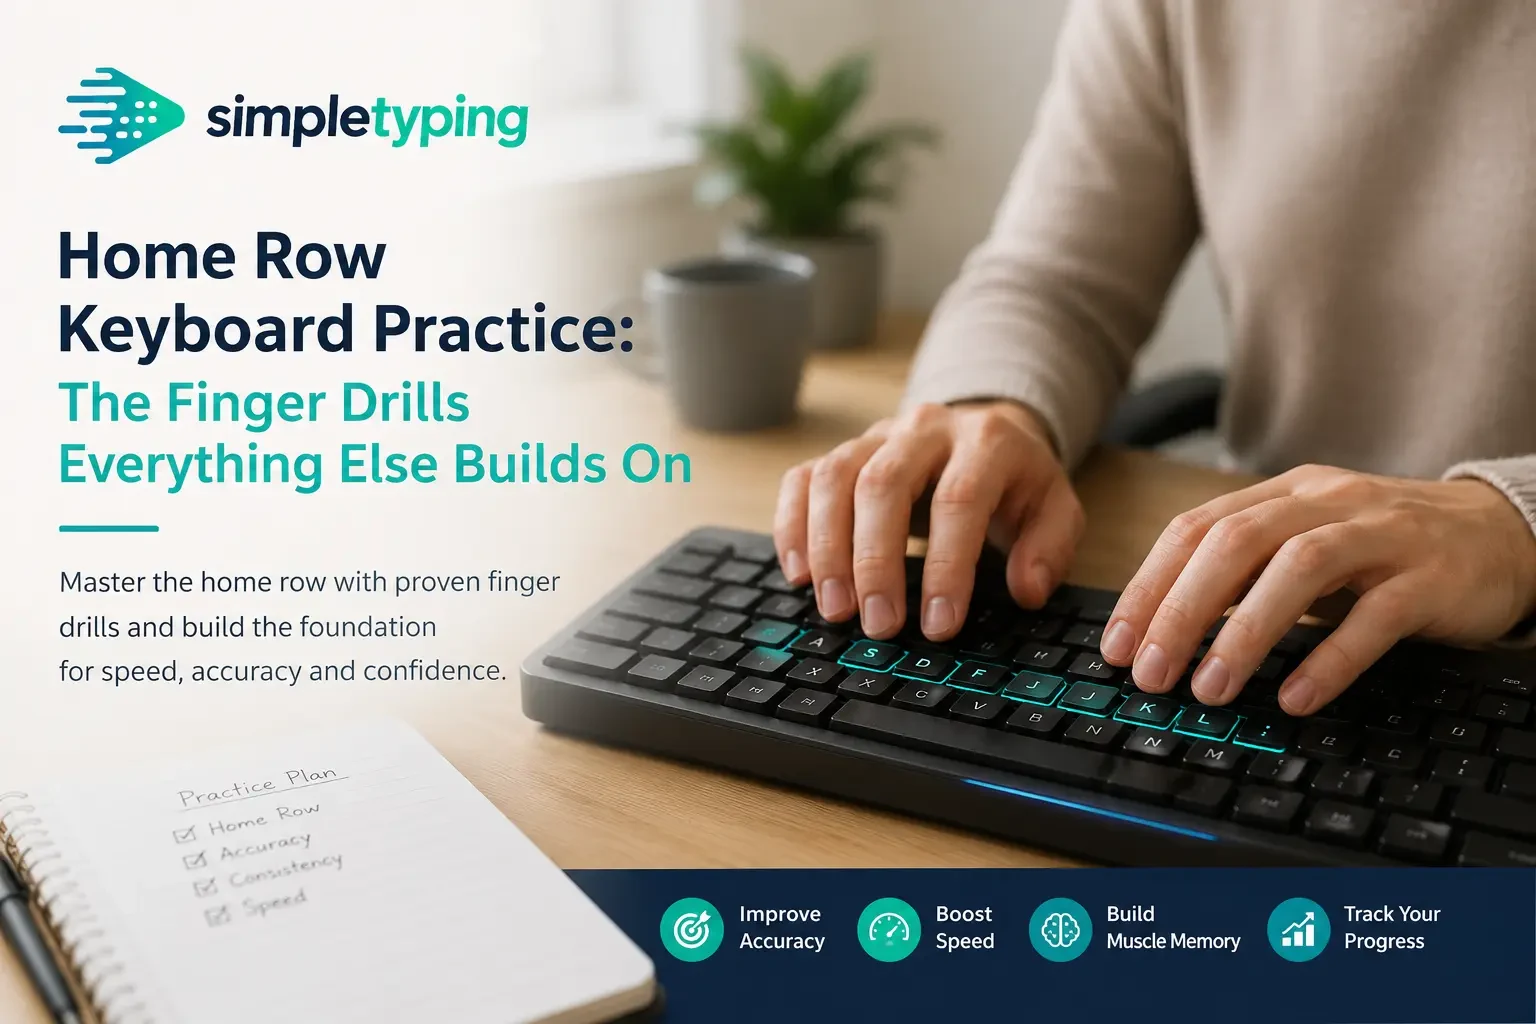
Every touch-typing method, regardless of which app or book is teaching it, starts in the same physical place: the row of keys under your resting fingers — A S D F on the left hand and J K L ; on the right. It is called the home row because it is where your fingers live between keystrokes. Every other key on the keyboard is defined relative to it: "reach up one row," "reach down one row," "stretch one key to the side." Nothing is memorized as an absolute location on a flat surface; it is memorized as a movement away from home and back.
Keyboard practice that skips this step tends to produce what typing instructors call a hybrid typist — someone who has memorized letter positions through raw repetition but has no consistent finger-to-key mapping. Hybrid typists plateau early, often somewhere around 30–40 WPM, because their hands are doing extra, uncoordinated travel on every keystroke that a properly anchored hand does not need. Home row drills exist to prevent that plateau before it forms, which is a very different job from trying to fix a decade-old habit afterward.
The other reason home row comes first is feedback. Because your fingers return to the same eight keys after every single reach, your hands build a physical sense of "home" that eventually lets you type without glancing down. That sense is not innate. It is built the same way any motor skill is built — through deliberate, repeated practice — which is the entire point of a drill rather than just "typing a lot."
Which finger owns which key
Touch typing assigns each finger a home key on the middle row, plus one key directly above it and one directly below it. The two index fingers additionally reach sideways to cover the "extra" letters in the middle of the keyboard, which is why F and J — the two index-finger home keys — usually have a small raised bump you can feel without looking. That bump is not decoration; it is how your fingers find home row again after any reach, including after using the mouse.
| Finger | Home row key | Reaches up to | Reaches down to |
|---|---|---|---|
| Left pinky | A | Q | Z |
| Left ring | S | W | X |
| Left middle | D | E | C |
| Left index | F | R, T | V, B |
| Right index | J | Y, U | N, M |
| Right middle | K | I | , |
| Right ring | L | O | . |
| Right pinky | ; | P | / |
Both thumbs share the space bar, and the little finger on each hand also handles Shift, while the left pinky additionally covers Tab and Caps Lock in most layouts. Note that the index fingers each own two extra letters beyond their home key — this is normal and is the reason index fingers do more total work than any other finger during ordinary typing.
Getting into position correctly
Before any drill is useful, the starting position has to be consistent, because a drill only builds muscle memory for whatever position you actually practiced in. Rest your left-hand fingers on A S D F and your right-hand fingers on J K L ; with wrists straight and slightly raised off the desk, not pressed flat against it. Fingers should be gently curved, as if resting on the top of a small ball, not flattened out straight. Your eyes stay on the screen or on the practice text, never on your hands — if you have to check finger placement, use the F and J bumps to reset without looking.
Elbows stay roughly at a right angle, close to your body rather than flared outward, and your feet should be flat on the floor with your back supported. This is not cosmetic advice: a bad wrist angle is one of the most common causes of the finger fatigue that makes people abandon home row drills after a few days, concluding wrongly that "touch typing just doesn’t work for me." Most of the time, it is the position, not the method.
The drill progression, step by step
Home row training works best as a fixed sequence rather than random practice, because each stage assumes the fingers already trust the stage before it. Follow this order rather than jumping ahead to whichever step feels more interesting.
- Home row only, single keys: type asdf jkl; repeatedly for two to three minutes, returning fingers to rest after every keystroke.
- Home row only, short combinations: type real fragments made purely from home-row letters — ask, lad, flask, dad, salad — to practice sequencing, not just isolated presses.
- Add the top row, one finger at a time: introduce Q, W, E, R, T (and their right-hand mirrors) individually, always returning to the matching home key immediately after the reach.
- Add the bottom row, one finger at a time: introduce Z, X, C, V, B (and mirrors) the same way, reach down, return home, repeat.
- Mixed short words across all three rows: type common three- and four-letter words that force top, home, and bottom reaches in the same word, such as cat, vast, fast, desk.
- Full sentences with punctuation: bring in comma, period, and Shift-cased letters so the pinky and ring fingers get real work, not just drill isolation.
- Timed accuracy-first passages: type a short paragraph slowly enough that you make close to zero errors, then repeat it faster, keeping accuracy above roughly 95 percent before chasing speed further.
Each stage should take a few days of five- to ten-minute sessions before moving to the next one. Skipping a stage to "get to the real typing faster" is exactly how hybrid habits form.
Common mistakes that wreck the habit
The single most common mistake is looking down at the keyboard during drills, which defeats the entire purpose since the drill exists to build a finger sense that does not require vision. A close second is moving the whole hand toward a key instead of reaching with just the assigned finger — if your hand as a unit slides toward the top row, you have left home row rather than reached from it, and your fingers will not return correctly afterward.
Another frequent error is practicing too fast, too soon. Speed drills before the finger-to-key mapping is solid just reinforce whatever inaccurate habit already exists, faster. It is far more effective to spend a week typing slowly and correctly than three days typing fast and sloppily, because correcting an ingrained wrong-finger habit later takes noticeably longer than building the right one from the start.
Finally, many people abandon home row drills out of boredom within the first two or three sessions, before any muscle memory has had a chance to form. Ten minutes a day for one to two weeks is a realistic minimum before the fingers stop feeling deliberate and start feeling automatic — quitting on day two and concluding "this isn’t working" is simply too early to judge.
What home row drills look like in practice
Priya, 22, a commerce student preparing for a bank clerk exam, had been typing for years with four fingers and no fixed assignments, averaging about 24 WPM with frequent backspacing. Rather than jumping straight into full-length typing tests, she spent eight days doing nothing but the home-row-to-mixed-word progression above, ten minutes each morning before college. She admitted the first three days felt slower than her old habit, which almost made her quit. By day nine, moving on to full paragraphs, her accuracy had climbed from roughly 88 percent to 97 percent, and her speed — without ever practicing "for speed" — had risen to 34 WPM simply because her fingers were no longer wasting movement.
Manoj, 45, runs a small hardware shop and had typed with two fingers, hunt-and-peck style, for over twenty years out of habit rather than necessity. He assumed touch typing was "for young people" until a new billing system made his speed a real bottleneck at the counter. Starting from true home row basics felt awkward and slow at first, and he genuinely typed worse for the first four or five days than he had with his old two-finger method. He stuck with the drill progression anyway, in short five-minute bursts between customers, and within three weeks was typing invoices without looking at the keyboard at all, something he had never been able to do in two decades of two-finger typing.
How long until it feels automatic
Most people notice the home row keys starting to feel automatic — meaning fingers return there without conscious thought — somewhere between one and two weeks of short daily sessions, roughly five to fifteen minutes a day. Full comfort typing across all three rows without looking down typically takes longer, often three to six weeks depending on how consistent the practice is and how deeply an old habit needs to be unlearned first.
The honest caveat is that "automatic" is not a single finish line. Basic home row recall usually arrives first, followed by comfortable top-row reaches, with bottom-row reaches and punctuation keys — which get used less often in everyday text — frequently lagging behind by another week or two. Judging progress by accuracy on real sentences, not by how confident the drills themselves feel, gives a much more honest picture of where you actually stand.
Key takeaways
- Home row (A S D F and J K L ;) is the fixed reference point every other key is learned relative to.
- Each finger owns one home key plus one key above and one below it; index fingers additionally cover two side letters each.
- Drill in order — home row alone, then top row, then bottom row, then mixed words, then full sentences — rather than jumping straight to full paragraphs.
- Slow and accurate practice early beats fast and sloppy practice; speed should come after the finger mapping is solid.
- Never look at the keyboard during drills; use the F and J bumps to reset your hands by feel.
- Expect one to two weeks before home row feels automatic, and three to six weeks before the full keyboard does.
Frequently asked questions
What are the home row keys on a QWERTY keyboard?
On the left hand they are A, S, D, and F; on the right hand they are J, K, L, and the semicolon key. These eight keys are where your fingers rest between keystrokes, and every other key is learned as a reach away from one of them.
Why do the F and J keys have small raised bumps?
Those bumps let your index fingers find home row by touch alone, without looking down. They are the physical anchor the rest of your hand placement is built around, since both index fingers sit on F and J at rest.
How long should a single home row drill session last?
Five to fifteen minutes is enough for a daily session. Longer sessions do not build muscle memory faster; consistency across many short sessions works better than one long, tiring session followed by several days off.
Do I need to memorize which finger goes with which key, or will it happen naturally?
You should learn the assignments deliberately at first, since letting it "happen naturally" is usually how inconsistent, hybrid finger habits form. Once you drill the correct mapping enough times, it does become automatic, but the initial mapping needs to be intentional.
What if my hands are too small to comfortably reach the top and bottom rows from home row?
Slightly adjusting keyboard height, tilting the keyboard, or allowing a small amount of wrist rotation is normal and fine. The finger-to-key assignments still apply; only the exact hand angle needs to adapt to your hand size.
Should I ever look at the keyboard while doing home row drills?
No. Looking down defeats the purpose of the drill, which is to build a sense of key location that does not depend on vision. If you lose your place, use the bumps on F and J to reset by feel instead of glancing down.
Can adults who have typed with two fingers for years actually relearn touch typing?
Yes, though the first several days often feel slower than the old habit, which is the main reason many people quit too early. Sticking with the drill progression for two to three weeks is usually enough to surpass the old two-finger speed permanently.
What is the difference between home row drills and a regular typing test?
A drill isolates a small, specific movement — like reaching from D up to E and back — so it can be repeated until it is automatic. A typing test measures overall speed and accuracy across normal text and is not designed to teach finger placement by itself.
Do home row drills work the same way for Hindi typing or other layouts?
The general principle of anchoring fingers to a home row and learning reaches relative to it applies to any keyboard layout, though the specific keys assigned to each finger differ. Hindi typing on Kruti Dev, Mangal, or Remington layouts uses its own finger-to-key mapping rather than the QWERTY one described here.
How do I know when I am ready to move from home row to the top and bottom rows?
When you can type home-row-only words and short combinations without looking at your hands and with very few errors, you are ready. There is no fixed day count; readiness is about consistency, not calendar time.
Is it normal to feel finger or wrist strain during home row practice?
Mild fatigue during the first few sessions can be normal, but ongoing pain usually points to poor wrist position rather than the drills themselves. Keep wrists straight and slightly raised, and stop if you feel sharp or persistent discomfort.
What tools or exercises can I use to practice home row placement for free?
You do not need special software; typing home-row-only words on any keyboard works. Structured practice on a site with guided lessons and accuracy feedback simply makes it easier to track progress through each stage of the drill progression.
Ready to put these drills to work? Start with guided English typing practice that lets you build up from home row at your own pace, try the same fundamentals in Hindi typing practice if that is your target layout, or create a free account to track your accuracy and speed as you move through each stage of the progression.