Most beginners open a typing lesson site expecting a magic trick and instead get a screen full of "asdf jkl;" repeated forty times. That's not the site being lazy — that's the one part of the curriculum nobody gets to skip. If you've ever wondered why lesson 1 isn't just "type this paragraph," or what actually happens to your fingers between week 1 and week 6 of structured practice, this is the walkthrough. No comparison charts, no hype — just what a real beginner course looks like, lesson by lesson, and what you should honestly expect your WPM to be at each stage.
- How Online Lessons Actually Teach Your Fingers
- The Lesson-by-Lesson Breakdown
- Finger Assignment Chart
- Why Following the Order Beats Jumping to Tests
- Week-by-Week Milestones
- Expert Tips for Getting Through Lessons Faster
- Common Mistakes Beginners Make
- A Real Beginner's Six-Week Timeline
- Key Takeaways
- Frequently Asked Questions
How Online Lessons Actually Teach Your Fingers
Every touch typing course, however it's dressed up, is built on one idea: each finger owns a small patch of keyboard real estate and never wanders off it. Your left pinky lives on Q, A, Z (and sometimes Tab and Shift). Your right index finger covers Y, U, H, J, N, M — the busiest patch on the board because it also has to reach across the middle for T and G duty-sharing with the left index. This isn't arbitrary; it's mapped to how often each letter appears in English, so the strongest fingers (index and middle) get the letters you'll hit thousands of times a day, and the weakest (pinkies) get the ones you'll barely touch.
A printed finger chart on your wall tells you this mapping once and then leaves you alone with it. An online lesson does something a chart physically cannot: it watches every keystroke as you make it. Hit L with your ring finger instead of your pinky, and a good lesson interface flags it immediately — not at the end, not in a summary report, but the instant your finger is in the wrong place. That real-time correction is the entire value proposition of doing this online instead of from a photocopied sheet. You're not memorizing a diagram; you're building a reflex, and reflexes only form from immediate feedback.
Lessons also unlock progressively. You don't get access to the S key drill until you've shown some competence on A, D, and F. That gating feels slow in the first sitting and feels exactly right by day four, because it forces your fingers to actually rest on home row instead of drifting up to peek at the next drill. If you want to see this in action rather than just read about it, SimpleTyping's English typing practice lessons are built around this exact unlock structure.
The Lesson-by-Lesson Breakdown
Here's the order almost every credible beginner course follows, and why it's sequenced this way rather than any other:
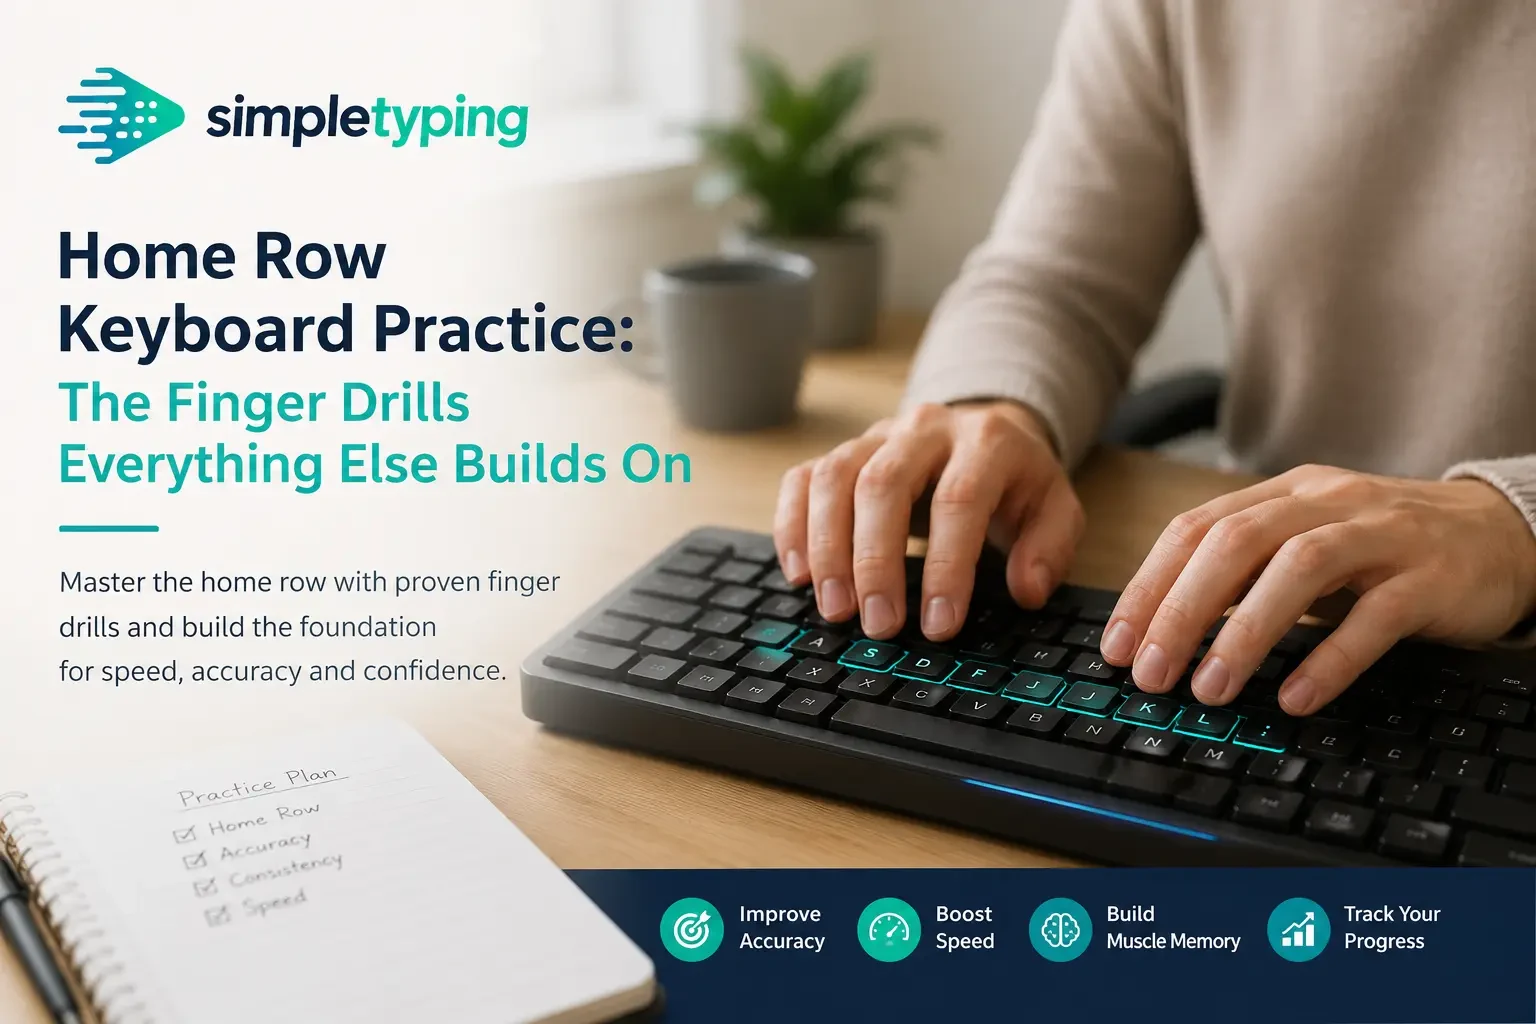
- Home row (ASDF JKL;) — Your eight fingers park here between every keystroke. Lesson 1 is nothing but A, S, D, F, J, K, L, and the semicolon, drilled until your fingers return to these keys without your eyes checking. This sounds trivial and is, for most people, the hardest single lesson in the whole course.
- Top row (QWERTY UIOP) — Once home row is automatic, lessons introduce the row directly above it. Each new letter is taught as a "reach and return" — index finger stretches up to R, then immediately comes back to F. The return trip matters more than the reach; skipping it is how bad habits start.
- Bottom row (ZXCVB NM,./) — The row your fingers like least, because it's a downward reach instead of upward, and downward reaches feel less natural to most hands. Expect your speed to visibly dip when this row is introduced — that's normal, not a sign you're regressing.
- Numbers row (1234567890) — Taught after all three letter rows because it requires the biggest finger stretch of the keyboard. Most courses pair each number with its nearest home-row finger rather than teaching numbers as a separate block.
- Punctuation and capitalization — Shift key coordination (opposite hand from the letter you're capitalizing), commas, periods, apostrophes, and question marks. This is where typing stops feeling like a drill and starts feeling like writing.
- Full sentences and paragraphs — The lessons stop isolating rows and start mixing everything, mimicking real sentences, emails, and the kind of passages you'd meet on a government exam typing test.
Notice what's missing from that list: nothing here is "type as fast as you can." Speed is a byproduct that shows up once accuracy on a row is solid, not a target you chase directly in lesson 1.
Finger Assignment Chart
This is the map every lesson is quietly enforcing behind the scenes. Bookmark it if a chart helps more than prose:
| Row | Left Hand | Right Hand |
|---|---|---|
| Home row | Pinky: A · Ring: S · Middle: D · Index: F, G | Index: J, H · Middle: K · Ring: L · Pinky: ; |
| Top row | Pinky: Q · Ring: W · Middle: E · Index: R, T | Index: Y, U · Middle: I · Ring: O · Pinky: P |
| Bottom row | Pinky: Z · Ring: X · Middle: C · Index: V, B | Index: N, M · Middle: , · Ring: . · Pinky: / |
| Number row | Pinky: 1 · Ring: 2 · Middle: 3 · Index: 4, 5 | Index: 6, 7 · Middle: 8 · Ring: 9 · Pinky: 0 |
| Spacebar | Both thumbs (whichever is more natural for you — most people default to their dominant thumb) | |
Why Following the Order Beats Jumping to Tests
The temptation, especially if you're prepping for something with a deadline like an exam typing requirement, is to skip straight to a timed test and see where you land. Resist this for the first couple of weeks. Testing before your fingers know their assignments just measures your hunt-and-peck speed with a stopwatch attached — it doesn't build anything. Worse, it reinforces whatever bad habit got you your current score, because under time pressure your hands revert to whatever's fastest right now, not what's correct.
Structured lesson order works because each stage is load-bearing for the next one. Top-row accuracy depends on home row being automatic, because your fingers need a reliable "home base" to return to after every reach. Punctuation depends on both letter rows being solid, because Shift-key combinations require one hand to hold a key while the other reaches across the board. Skip a stage and you're not saving time — you're borrowing against the next one.
This is also where online lessons quietly outperform a printed chart or a typing manual. A course that gates your progress won't let you attempt paragraph typing until your row drills hit an accuracy threshold, which removes the temptation to cheat your own curriculum. It's mildly annoying in the moment and exactly what stops you from building the same bad habits touch typing is supposed to fix.
Week-by-Week Milestones
Speed targets vary by person, but here's a realistic range if you're practicing roughly 20–30 minutes a day, five or six days a week:
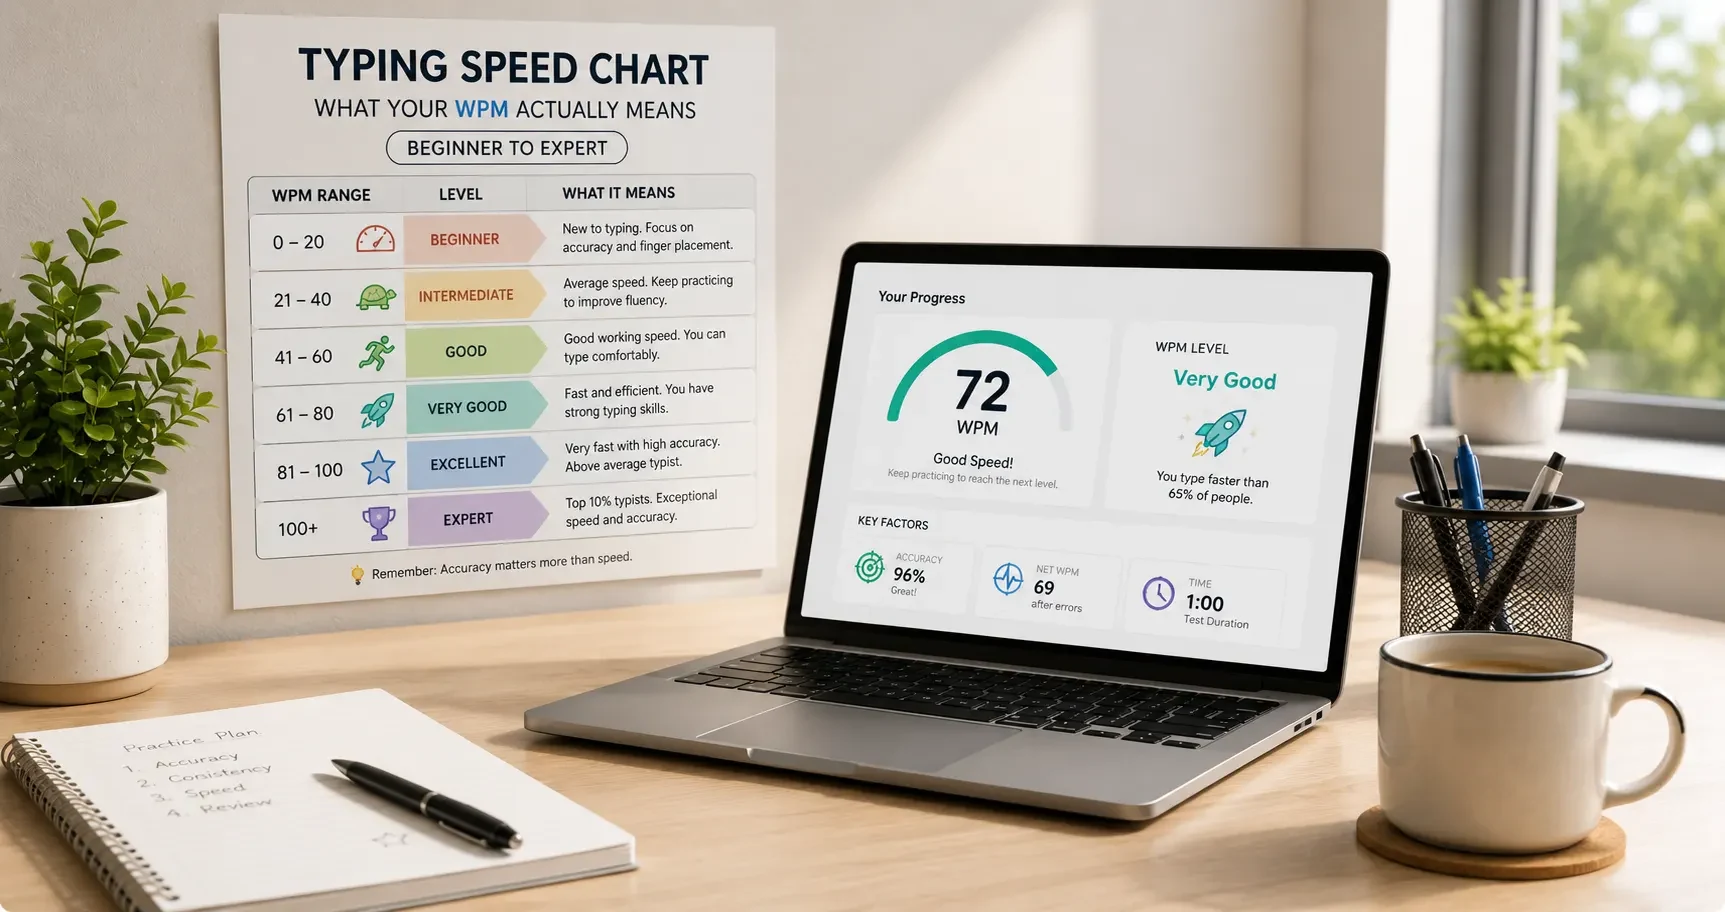
| Timeline | What You're Working On | Realistic WPM Range |
|---|---|---|
| End of Week 1 | Home row typed without looking down | 10–15 WPM |
| End of Week 2 | Top row integrated, short home+top words | 15–20 WPM |
| End of Week 3 | Bottom row and numbers added | 18–25 WPM |
| End of Week 4 | Punctuation, capitalization, full sentences | 25–32 WPM |
| End of Week 6 | Sustained paragraphs, accuracy consistently above 90% | 30–42 WPM |
| 3 Months In | Comfortable, no-look typing across all rows | 40–55+ WPM |
If your numbers land a bit below this table, that's not a red flag — hand size, prior computer habits, and how much you practiced between sessions all shift the curve. What should worry you more than a slow WPM climb is accuracy that refuses to move past 80%; that usually means a lesson stage got rushed.
Expert Tips for Getting Through Lessons Faster
- Practice in short, daily sessions rather than long weekly ones. Fifteen minutes a day builds muscle memory faster than a two-hour Sunday session, because typing reflexes consolidate during the gaps between practice, not just during it.
- Resist looking at your hands, even when it's slower. Every glance down is a small vote for staying a hunt-and-peck typist. It feels inefficient in week 1 and pays off completely by week 4.
- Keep your wrists floating, not resting on the desk. A wrist glued to the table forces your fingers to stretch further than they should, which is a fast route to inaccurate reaches on the top and bottom rows.
- Repeat a lesson you "passed" if your accuracy was under 90%. Lessons that let you move on at 75% accuracy are doing you a disservice — go back and redo it once.
- Mix in a typing game once your rows are solid. Drills teach the mechanics; a quick round of a typing game afterward tests whether the mechanics survive under a bit of pressure and fun.
Common Mistakes Beginners Make During Lessons
Rushing home row. This is the single biggest predictor of a slow plateau later. If A-S-D-F-J-K-L-; isn't automatic, every row built on top of it inherits the wobble.
Watching the keyboard "just this once." One glance turns into a habit within days. If you genuinely can't find a key, pause and think about the finger assignment instead of looking — it reinforces the mapping instead of bypassing it.
Skipping numbers and punctuation because they feel unnecessary. Then exam day, form-filling, or password entry arrives and it turns out numbers and symbols are half of real-world typing.
Comparing WPM to a friend on day three. Everyone's curve looks different in the first two weeks; comparing raw numbers this early just discourages you for no useful reason.
Treating lessons and tests as the same thing. Lessons build the skill; a typing test measures it. Doing only tests without lessons is like taking exams without ever attending class.
A Real Beginner's Six-Week Timeline
Take a fairly typical case: a college student preparing for a clerical exam that requires 35 WPM with 90% accuracy, starting from zero touch-typing experience and a hunt-and-peck speed of about 18 WPM using four fingers. Week 1 was almost entirely home row, and by day 6 she could type "as a lad; ask a sad lass" without looking down, at roughly 12 WPM — slower than her old hunt-and-peck speed, which felt discouraging at the time. By week 3, with top and bottom rows added, her speed matched her old hunt-and-peck baseline again, except now every letter came from the correct finger. By week 5, with punctuation and full paragraphs in the mix, she hit 31 WPM at 94% accuracy. By week 7 — a week later than the six-week plan predicted, because she missed a few practice days — she cleared 37 WPM at 92% accuracy and passed her exam's typing round with room to spare. The dip in week 1 is the part beginners don't expect and the part that makes people quit early; it's also completely normal and temporary.
Key Takeaways
- Every touch typing curriculum follows the same backbone: home row, top row, bottom row, numbers, punctuation, then full paragraphs — in that order, for good reason.
- Each finger owns a fixed set of keys; online lessons enforce this in real time, which a printed chart can't do.
- Expect a temporary speed dip when new rows are introduced, especially the bottom row — it's part of the process, not a setback.
- By week 1 you should manage home row without looking; by week 4, full sentences with punctuation; by week 6, sustained paragraphs above 90% accuracy.
- Don't jump straight to timed tests before your fingers know their assignments — it locks in bad habits instead of building good ones.
- Short daily sessions beat long weekly ones for building the muscle memory this whole approach depends on.
Frequently Asked Questions
How long does it take to learn touch typing from scratch?
Most beginners get through the full lesson sequence — home row to full paragraphs — in five to seven weeks with daily 20–30 minute practice. Comfortable, no-look typing at a solid speed usually takes another month or two beyond that.
Do I need to memorize the keyboard layout before starting lessons?
No. That's the entire point of starting with home row — you learn eight keys first, build muscle memory around them, and every later row is taught as a small reach-and-return from that base. You never memorize the full layout as a static list.
Why does my typing speed drop when a new row is introduced?
Your fingers are adjusting to a new reach pattern, and accuracy temporarily takes priority over speed while that adjustment happens. It's expected, especially with the bottom row, and it recovers within a few days of practice.
Should I look at the keyboard at all during lessons?
Try not to, even if it slows you down at first. Every time you look, you're relying on vision instead of muscle memory, which is exactly the habit touch typing lessons are designed to remove.
What's a realistic WPM goal for a total beginner after one month?
Somewhere in the 20–30 WPM range with reasonable accuracy is a fair target after four weeks of consistent daily practice, based on the standard lesson progression.
Can I skip straight to paragraph typing if I already know most of the keyboard?
You can try, but it's usually worth running through the row drills anyway, even quickly, to confirm your finger assignments are actually correct rather than just fast. Plenty of self-taught typists are quick but use the wrong fingers, which caps their long-term speed.
How is an online typing lesson different from a printed finger chart?
A chart shows you the mapping once; an online lesson watches every keystroke and tells you immediately when a finger is out of position. It also unlocks new content progressively, so you can't move to top row before home row is solid — a chart has no way to enforce that.
Do typing lessons work the same way for Hindi typing?
The row-by-row logic is similar, but Hindi layouts like Kruti Dev, Mangal, and Remington map differently to the keyboard, so the finger assignments themselves change. If Hindi is your goal, it's worth working through Hindi typing lessons built specifically for that layout rather than translating English finger positions directly.
Are typing lessons useful for kids, or should they just play games?
Kids generally do better with a blend — short structured lessons to build correct finger habits early, mixed with typing games so the practice doesn't feel like homework. Starting with proper finger placement early avoids the harder job of unlearning hunt-and-peck habits later. SimpleTyping's typing lessons for kids are built around that mix.
How many minutes a day should a beginner practice?
Fifteen to thirty minutes a day is the sweet spot for most people. Shorter daily sessions consistently outperform occasional long ones because muscle memory forms during the rest between sessions as much as during the practice itself.
When should I start taking timed typing tests?
Once you've completed punctuation and are comfortable with full sentences — usually around week 4 or 5 — timed tests become genuinely useful. Before that, a test mostly just measures how well your old habits survived, not your new ones.
Is it possible to get a certificate after completing typing lessons?
Yes — once your speed and accuracy hit a consistent level, you can take a timed test and download a certificate as proof, provided you're practicing under a free account that tracks your progress.
Touch typing isn't a talent some people have and others don't — it's a sequence, and the sequence works the same way for everyone who actually follows it in order. Skip ahead and you'll feel fast for a week and then stall for months; follow home row, top row, bottom row, numbers, punctuation, and paragraphs in that order, and the speed shows up on schedule, roughly the way it did in the six-week example above. If you're ready to start lesson 1 today, head over to SimpleTyping's free typing test and lessons, work through the rows at your own pace, and once you're consistently hitting your target speed, create a free account to track your progress and pick up your typing certificate when you clear it.